I started composting almost by accident. I had a corner of the garden where I tossed pulled weeds and old tomato plants at the end of each season. After a year of neglect, I dug into the bottom of that pile and found dark, crumbly, sweet-smelling soil. I had not done anything clever. Nature had done the work. That pile taught me the most important lesson about composting: it is not a skill you need to master. It is a process you need to stop getting in the way of.
Since then I have tried tumblers, hot heaps, worm bins, and open bays. Some worked brilliantly. Some turned into soggy, smelly disasters. What I have learned is that composting is forgiving, but it does reward a basic understanding of what is happening inside the pile.
Why compost at all
The simplest reason is soil. Compost is the most useful amendment you can add to garden beds. It improves drainage in clay soil, increases water retention in sandy soil, feeds the microbial life that makes nutrients available to plant roots, and adds organic matter that keeps the whole system healthy over time. If you grow vegetables in raised beds or follow a crop rotation plan, compost is what keeps those beds productive year after year.
The second reason is waste. Roughly a third of household waste is organic material that could be composted instead of sent to landfill. Vegetable peelings, coffee grounds, eggshells, cardboard, fallen leaves. In landfill, this material breaks down without oxygen and produces methane. In a compost heap, it breaks down aerobically and produces something useful. It is one of those rare situations where the environmentally responsible choice is also the practically useful one.
You do not need a large garden or special equipment. A small bin tucked in a corner works. Skip the activators and inoculants. All you need is organic waste, a place to put it, and a little patience.
Greens and browns: the only ratio that matters
Every composting guide talks about greens and browns. This is the one concept that makes the difference between a heap that works and one that turns into a slimy mess.
Greens (nitrogen-rich):
- Vegetable peelings and fruit scraps
- Grass clippings
- Coffee grounds and tea bags
- Fresh plant trimmings
These provide the protein that feeds the microorganisms doing the decomposition work. Greens tend to be wet and break down quickly.
Browns (carbon-rich):
- Cardboard and newspaper (shredded)
- Dry leaves
- Straw and wood chips
- Egg boxes and toilet roll tubes
These provide energy for the microbes and create structure in the pile that allows air to circulate. Browns tend to be dry and break down slowly.
The ideal ratio is roughly two to three parts brown to one part green by volume. You do not need to measure this precisely. The practical rule is: every time you add a bucket of kitchen scraps, cover it with a similar amount of dry leaves or torn cardboard. If the pile looks wet and matted, add more browns. If it looks bone dry and nothing is happening, add more greens or water it.
Most beginners add too many greens and not enough browns. This is because kitchen scraps accumulate daily while dry leaves are seasonal. My solution is to keep a bag of dried leaves or a stack of torn cardboard next to the bin. Every time I empty the kitchen caddy, I grab a handful of browns and layer it on top. It takes five seconds and prevents most problems before they start.
Plan what goes into your beds and when.
Free for up to 30 plants. No card needed.
What to compost and what to leave out
The safe list is long. Vegetable and fruit scraps, coffee grounds and tea bags (remove any staples), eggshells, garden waste, grass clippings, dry leaves, shredded cardboard and newspaper, straw, wood ash in small amounts, and herbivore manure (chicken, horse, rabbit).
The avoid list is shorter but important:
- Meat, fish, and dairy attract rats and create odours that will make your neighbours unhappy.
- Cooked food with oils or sauces has the same problem.
- Diseased plants risk spreading pathogens back into your garden.
- Cat and dog waste can carry parasites harmful to humans.
- Treated or painted wood introduces chemicals.
- Persistent herbicides on grass clippings (from weed-and-feed products) can survive composting and damage your plants when you use the finished product.
Citrus and onion scraps are fine in moderation despite what some guides claim. Worms do not love them, but in a standard compost heap they break down without issue. The same goes for bread and plain pasta in small quantities, though they can attract pests if left exposed on top of the pile.
Cold composting vs hot composting
There are two broad approaches, and both produce the same end result. The difference is speed and effort.
Cold composting is what most home gardeners do. You add materials as they become available, keep the pile roughly balanced, and let it decompose at its own pace. It takes six to twelve months. You do not need to turn it, monitor temperature, or build the pile all at once. This is the approach I use for most of my composting. It fits into a normal routine without demanding extra time.
Hot composting is faster but more deliberate. You build the pile all at once with a good balance of greens and browns, ensure it is large enough to generate heat (at least one cubic metre), and turn it every few days to maintain oxygen flow. The centre of a well-built hot pile reaches 55 to 65 degrees Celsius, which kills weed seeds and pathogens. You can have finished compost in four to eight weeks. The trade-off is that it requires a large volume of materials at once and regular physical effort.
For most people starting out, cold composting is the right choice. It is low commitment and hard to get seriously wrong. If you find yourself generating a lot of material and wanting faster results, hot composting is worth trying later.
Troubleshooting the three common problems
Smelly compost: Too many greens and not enough air. The heap has gone anaerobic. Turn it (or poke holes with a garden fork) and mix in a generous amount of dry browns. Cardboard, straw, or dry leaves will absorb excess moisture and restore airflow. The smell should clear within a few days.
Too wet: Related to the above. If the heap is sodden, it cannot get enough oxygen. Add browns, turn it, and if your bin does not have a lid, cover it with a piece of old carpet or a tarp to keep rain out. Good compost should feel like a wrung-out sponge. Damp, but not dripping.
Not breaking down: The pile is probably too dry, too small, or lacks nitrogen. Add water until it is evenly moist. Mix in some fresh green material. If the pieces are large (whole cabbage stalks, big branches), chop them smaller. Microorganisms work on surfaces, so more surface area means faster decomposition. A pile smaller than about half a cubic metre also struggles to retain the heat and moisture needed for active decomposition.
Using finished compost
Compost is ready when it looks and smells like dark, crumbly soil. You should not be able to identify the original materials. If you can still see eggshells or bits of cardboard, it needs more time. Sift out any large pieces and throw them back into the active pile.
Spread finished compost on garden beds as a mulch or dig it into the top few centimetres of soil. A layer of two to five centimetres once or twice a year is enough for most vegetable gardens. It works brilliantly as a top dressing for raised beds in spring before planting, and again in autumn after you clear spent crops.
You can also mix it into potting compost for containers, use it as a seed-starting medium (sifted fine), or brew it into compost tea for a liquid feed. I use most of mine as a spring mulch on the vegetable beds and save a bucket for mixing into planting holes when I put in tomatoes and courgettes.
Track what goes into your beds each season.
Free for up to 30 plants. No card needed.
Start simple
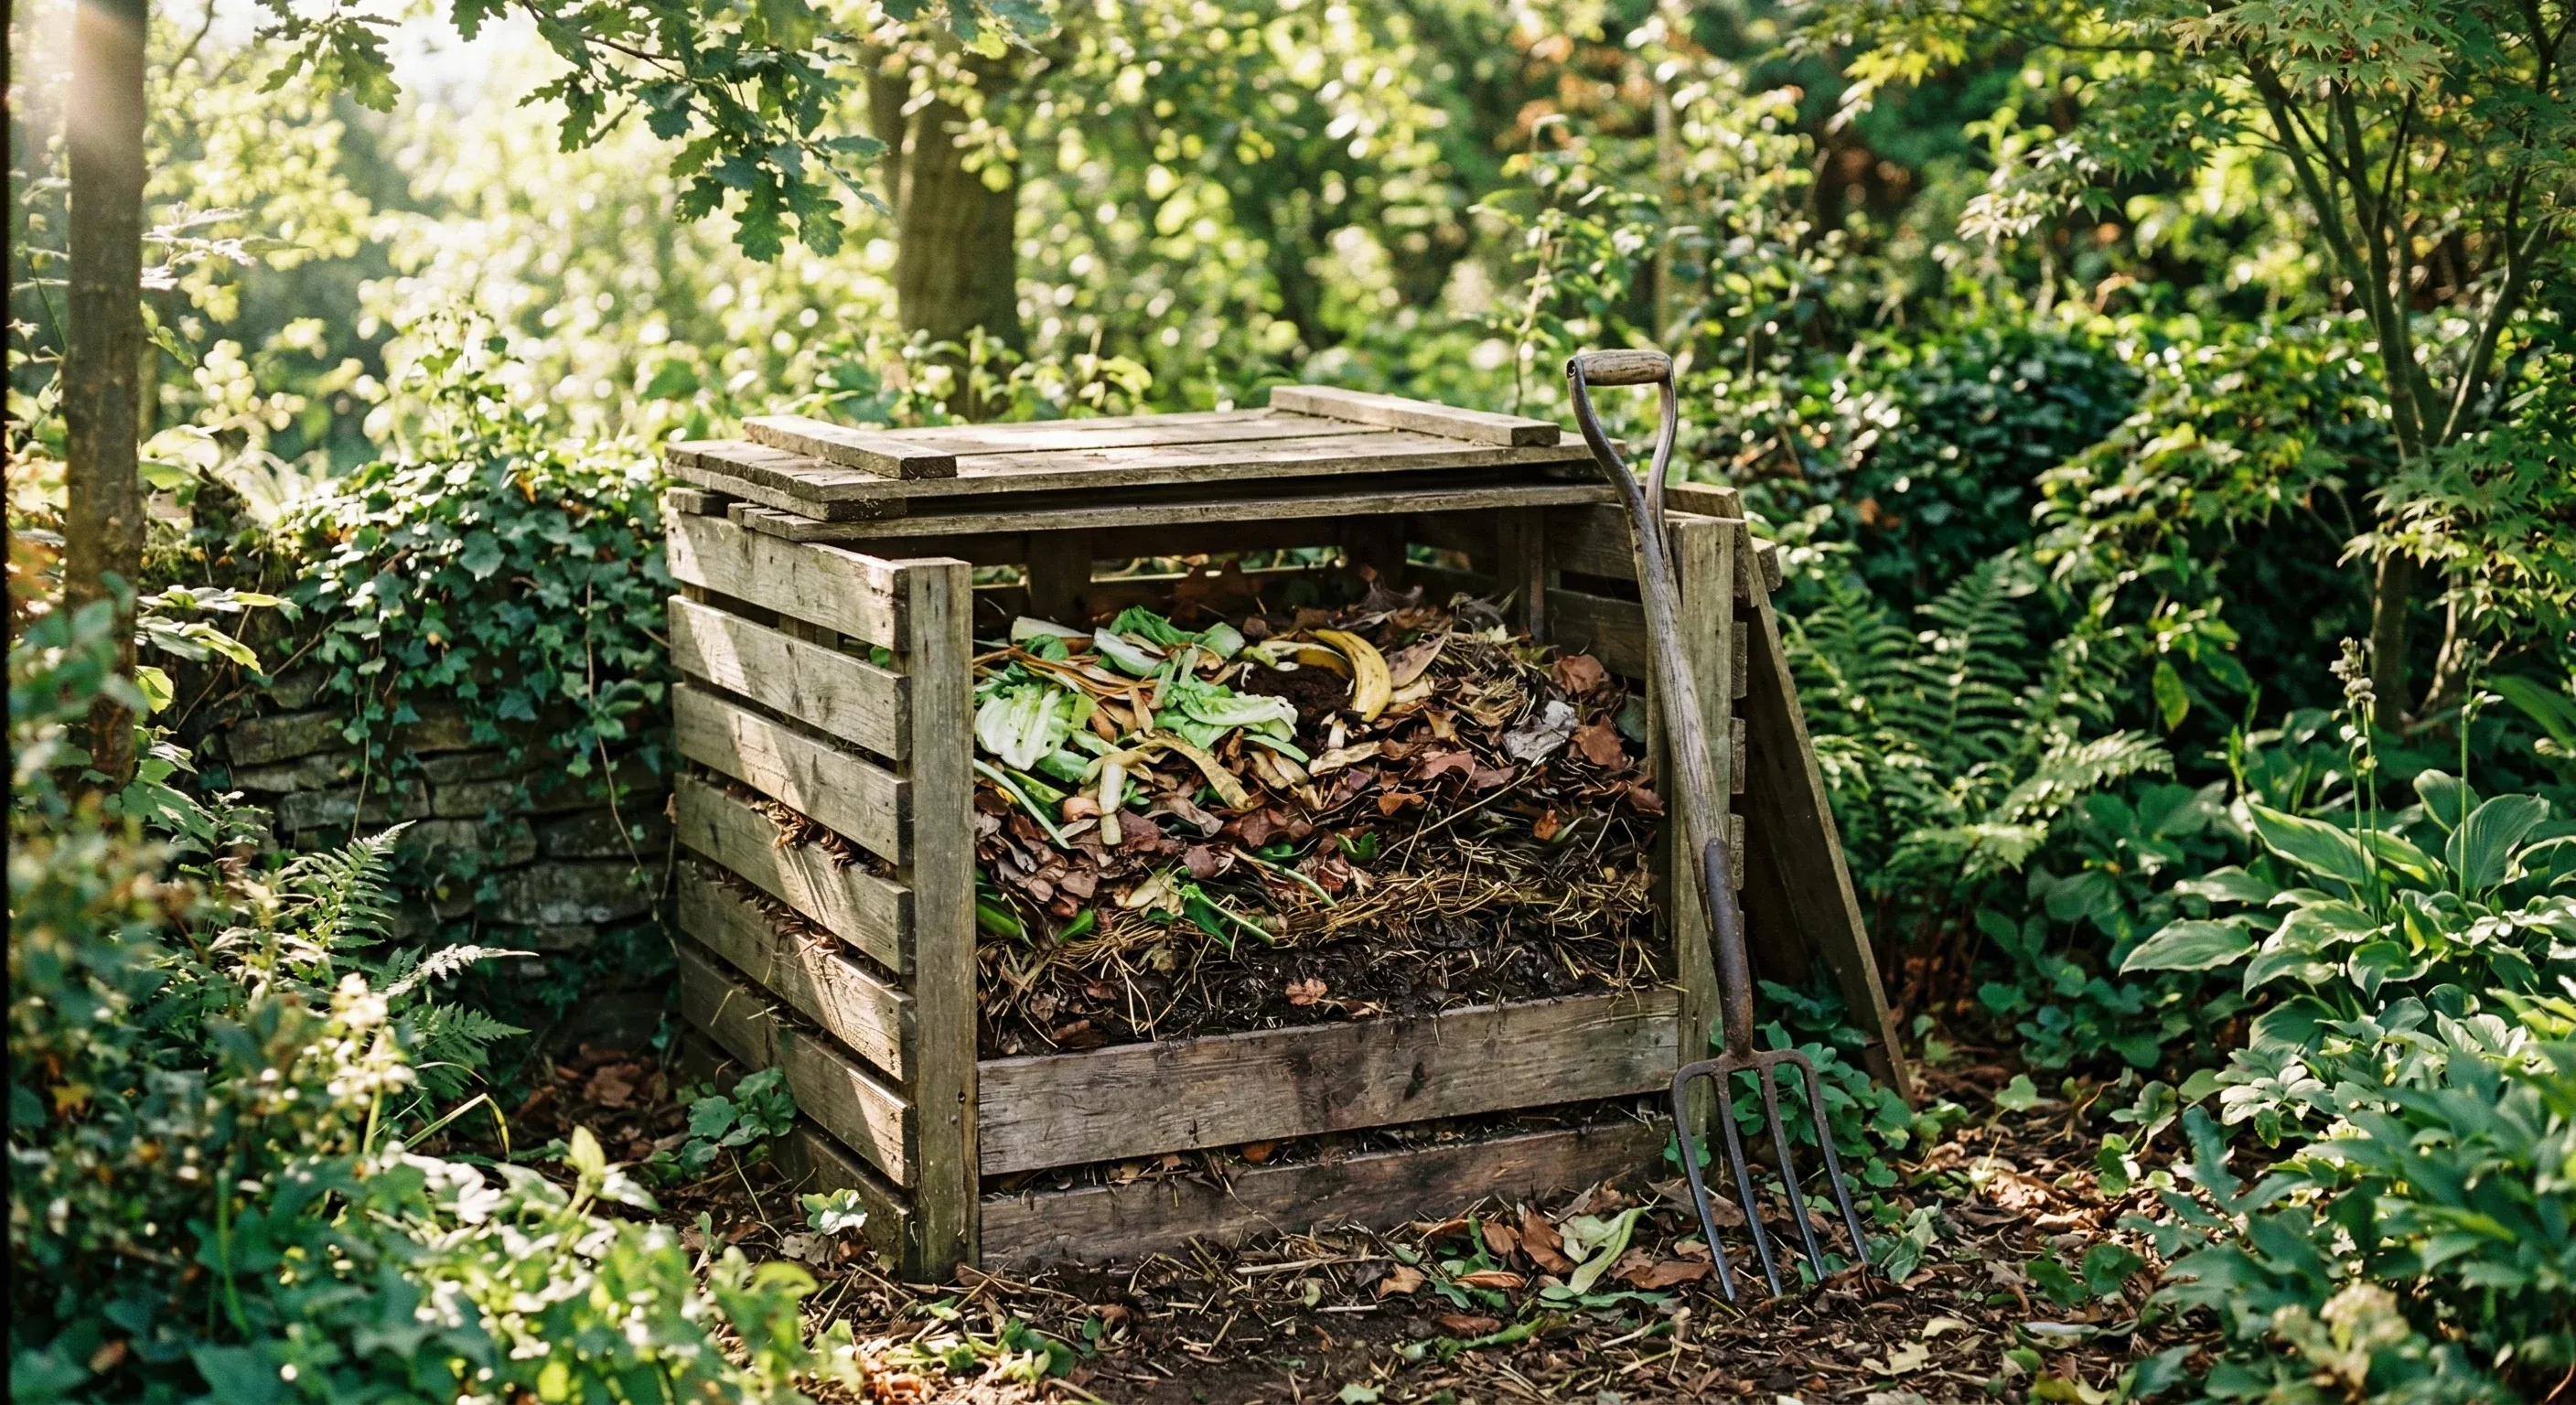
The best composting setup is the one you will actually use. A single open bay made from pallets, a plastic dalek bin from the council, or even a wire mesh circle in a back corner. It does not need to be pretty or expensive. Start adding scraps, layer in your browns, and leave it alone. In six months you will have something your garden will thank you for.
I spent years overcomplicating this. Buying thermometers, obsessing over carbon-to-nitrogen ratios. The pile in the corner that I ignored outperformed every carefully managed heap I built. Composting rewards consistency more than precision. Add your scraps, balance your browns, and walk away.